Travel Photography for Instagram: Gear, Tips, and Workflow
Travel has a way of shrinking time. One minute you’re weaving through a spice market, the next you’re standing on a windy overlook watching the city wake up. Meanwhile, your camera roll is exploding—and you’re hoping a handful of those frames will look as epic on Instagram as they felt in the moment. Good news: they can. With a few field-tested travel photography tips, a smart gear setup, and an easy on-the-go workflow, you’ll consistently capture and share photos that stop the scroll.
Let’s make this practical, fun, and totally doable—whether you’re packing a mirrorless camera or rolling with just your phone.
Pack Light with the Right Gear
There’s a sweet spot between quality and convenience. The trick is choosing tools you’ll actually carry all day and know how to use.
If you’re phone-first
Modern smartphones are travel powerhouses. Flagship models from the last few years deliver sharp detail, low-light performance, and computational magic (think Night mode and HDR) that used to require serious kit. If your goal is Instagram-worthy travel photos with minimal fuss, a phone-only setup is not just acceptable—it’s smart.
A few pro habits to adopt with your phone:
- Turn on grid lines to help with composition (you’ll use the rule of thirds without thinking about it).
- Clean the lenses often; a quick wipe can rescue a hazy shot.
- Tap to set focus and exposure, then slide to brighten or darken before you shoot.
- Shoot a little wider than you need so you can crop later to Instagram’s 4:5 vertical without cutting off important details.
If you’re camera-curious
Prefer a bit more control? A compact mirrorless camera hits the sweet spot. They’re lighter than DSLRs and produce gorgeous files you can push in editing.
- One-lens simplicity: A versatile zoom like an 18–135mm (APS-C) or 24–70mm (full-frame) covers nearly everything from street scenes to portraits. If you love low light or creamy background blur, pop a small 35mm or 50mm f/1.8 prime in your bag.
- Keep it small: Slim camera bodies with a “pancake” lens are discreet and easy to carry in crowded spots.
- Learn your quick controls: Assign a button for ISO or exposure compensation so you can adjust on the fly.
“The best camera is the one that’s with you.” — Chase Jarvis
Remember that every extra pound will feel like five by mid-afternoon. Travel favors the nimble.
The tiny accessories that matter
Small add-ons pull far more weight than their size suggests—especially when light or weather shifts fast.
- Lightweight tripod or mini travel tripod: Essential for night cityscapes, waterfalls, or getting yourself in the shot without a stranger’s help. A small table-top tripod can live in your daypack.
- Portable power bank: Keeps your phone or camera going when the sunset stretches on.
- Polarizing filter (for cameras): Cuts glare on water and glass and makes skies pop.
- Extra memory cards and batteries: Better than playing deletion roulette on a street corner.
- Soft pouch or sling bag: Protects your gear and keeps it accessible. If it’s a hassle to grab your camera, you’ll miss photos.
Plan and Scout Photo Opportunities
You don’t need a rigid itinerary, but a little planning multiplies your chances of exceptional images. The most memorable shots happen when you show up at the right spot in the right light.
- Check location tags and hashtags before you go. Search your destination on Instagram and look at geotagged posts to see what angles are popular—and which ones are overdone. Save the gems.
- Note sunrise, sunset, and blue-hour times. One sunrise shoot can feel like a private tour of a normally crowded icon.
- Scan a map for vantage points. Rooftop cafes, hilltop parks, river bends, and pedestrian bridges often deliver striking perspectives.
- Ask locals. Hotel staff, baristas, and street vendors know photogenic corners that don’t hit top-10 lists.
For a modern shortcut, try a smart guide: Use Voyay to instantly build personalized walking tours, unlock hidden gems, and navigate like a local—download on iPhone: https://apps.apple.com/app/voyay-ai-tour-guide/id6744776659
I tested it in Lisbon and ended up detouring to a sunlit alley where azulejo tiles met bougainvillea. Ten minutes, three angles, one keeper that became a trip favorite.
Master Composition Basics
Composition is your quiet superpower. These easy tweaks make any scene more intentional and scroll-stopping.
Use the rule of thirds (and break it on purpose)
Turn on your grid. Place horizons on the top or bottom third, not dead center. Position your main subject on an intersection point. You’ll create balance and a sense of motion in a single step. Then, when symmetry is the story, center it deliberately for drama.
- Example frame: A lighthouse on the right intersection point, sky on the top third, sea on the bottom third.
Lead the eye
Roads, railings, shorelines, market aisles—these lines guide viewers into your frame. In Chefchaouen, I crouched low so the sloped blue street pulled the eye toward a sunlit doorway. Same stone path, two feet lower, totally different photo.
- Example frame: Cobblestones form a V that points toward a subject at the end of the lane.
Frame within a frame
Doorways, archways, tree branches, and windows add depth and context. In Oaxaca, I shot the cathedral through a courtyard arch; the curve anchored the image and blocked a crowd just out of frame.
- Example frame: A subject centered inside a doorway, edges darkened slightly to emphasize the frame.
Build foreground, middle, background
A flower pot, a cafe chair, a patterned tile in the foreground adds depth and scale to a landscape or cityscape. Without it, many travel photos feel flat—even if the subject is stunning.
- Example frame: Foreground chair leg, midground street performer, background skyline at dusk.
Spot patterns and symmetry
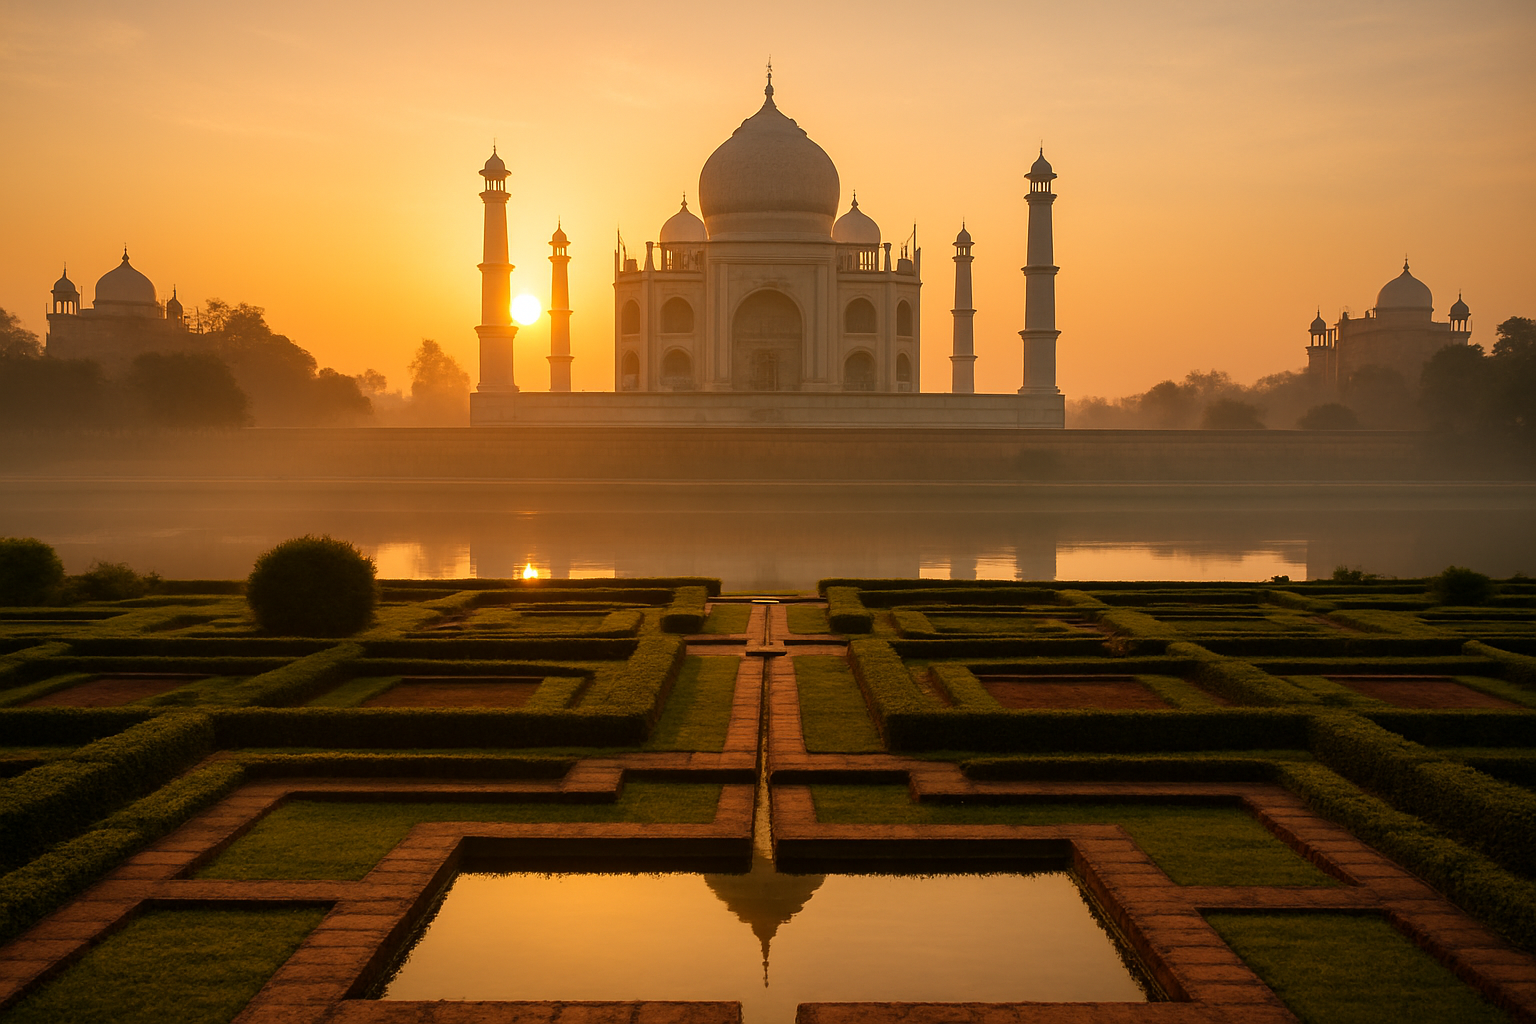
Lanterns hanging in a row, palm trees repeating down a boulevard, tiled floors—patterns are naturally satisfying. When a scene is symmetrical (think reflecting pools or mirrored buildings), lean into it. Place your camera dead center and keep horizons perfectly straight.
- Example frame: Centered hallway with repeating arches and a perfectly level horizon.
Include a human element for scale
A tiny figure on a big dune; a traveler gazing at a skyline. People add scale and story. If your companion is camera-shy, have them walk away from the camera or face the view. It reads cinematic, not posed.
- Example frame: Silhouetted hiker on a ridge occupying a small portion of the frame.
Leverage Lighting (Chase the Golden Hour)
Light is everything. The same street looks harsh at noon and cinematic at 6:30 pm. You can’t control the weather, but you can learn to dance with the light you have.
Golden hour: your daily appointment
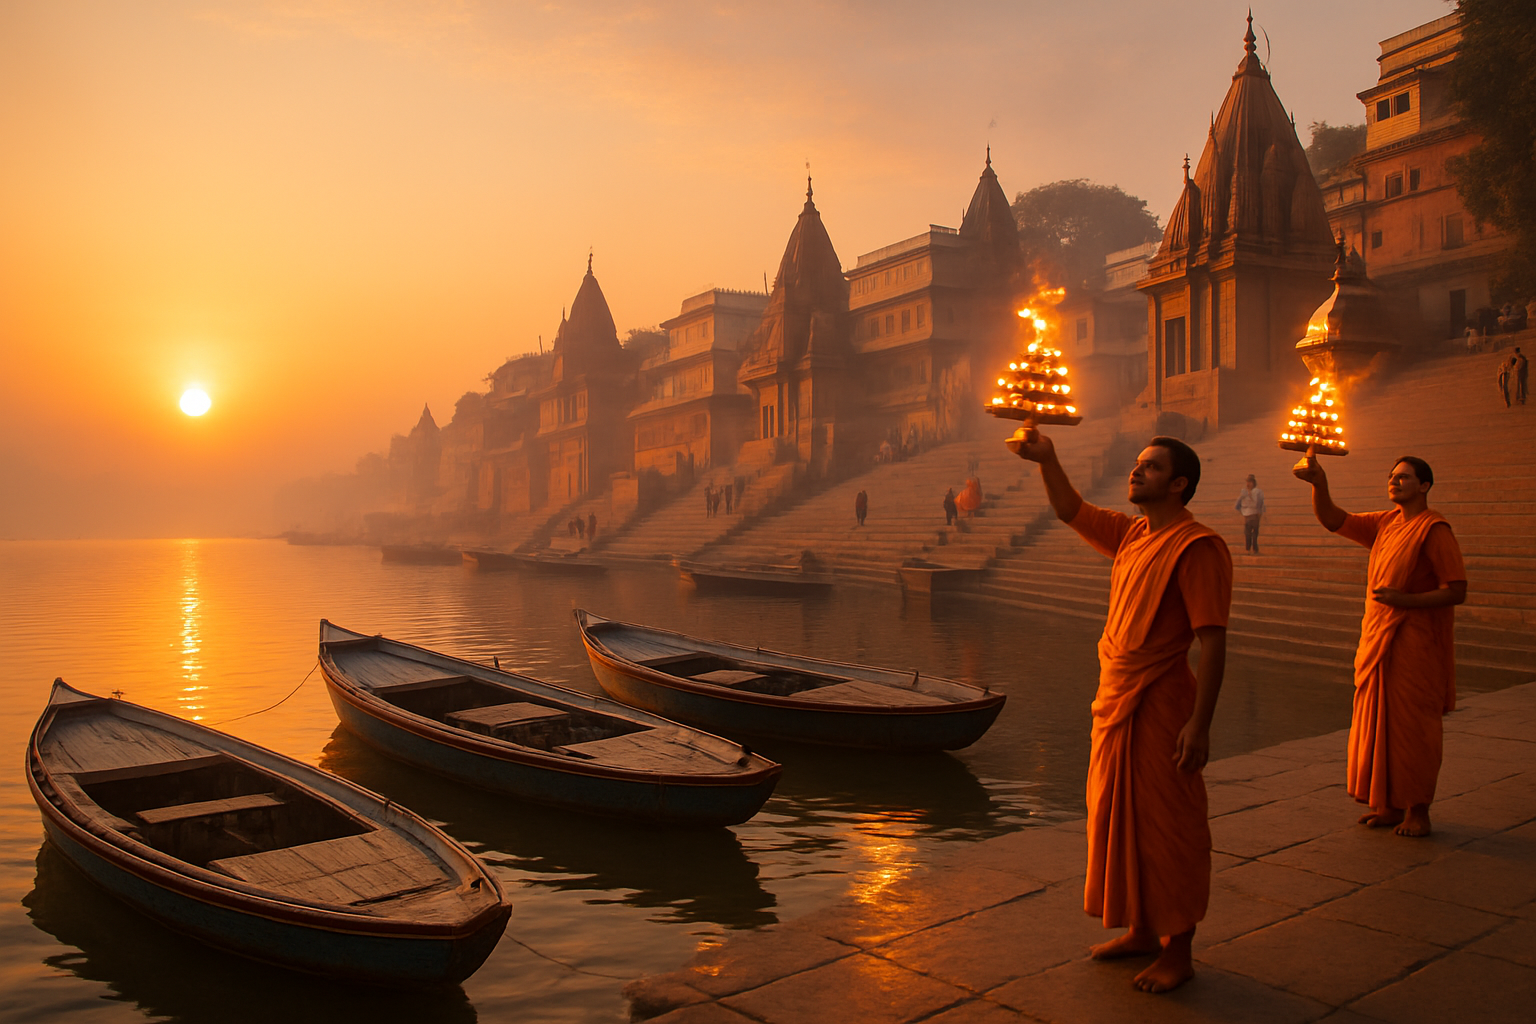
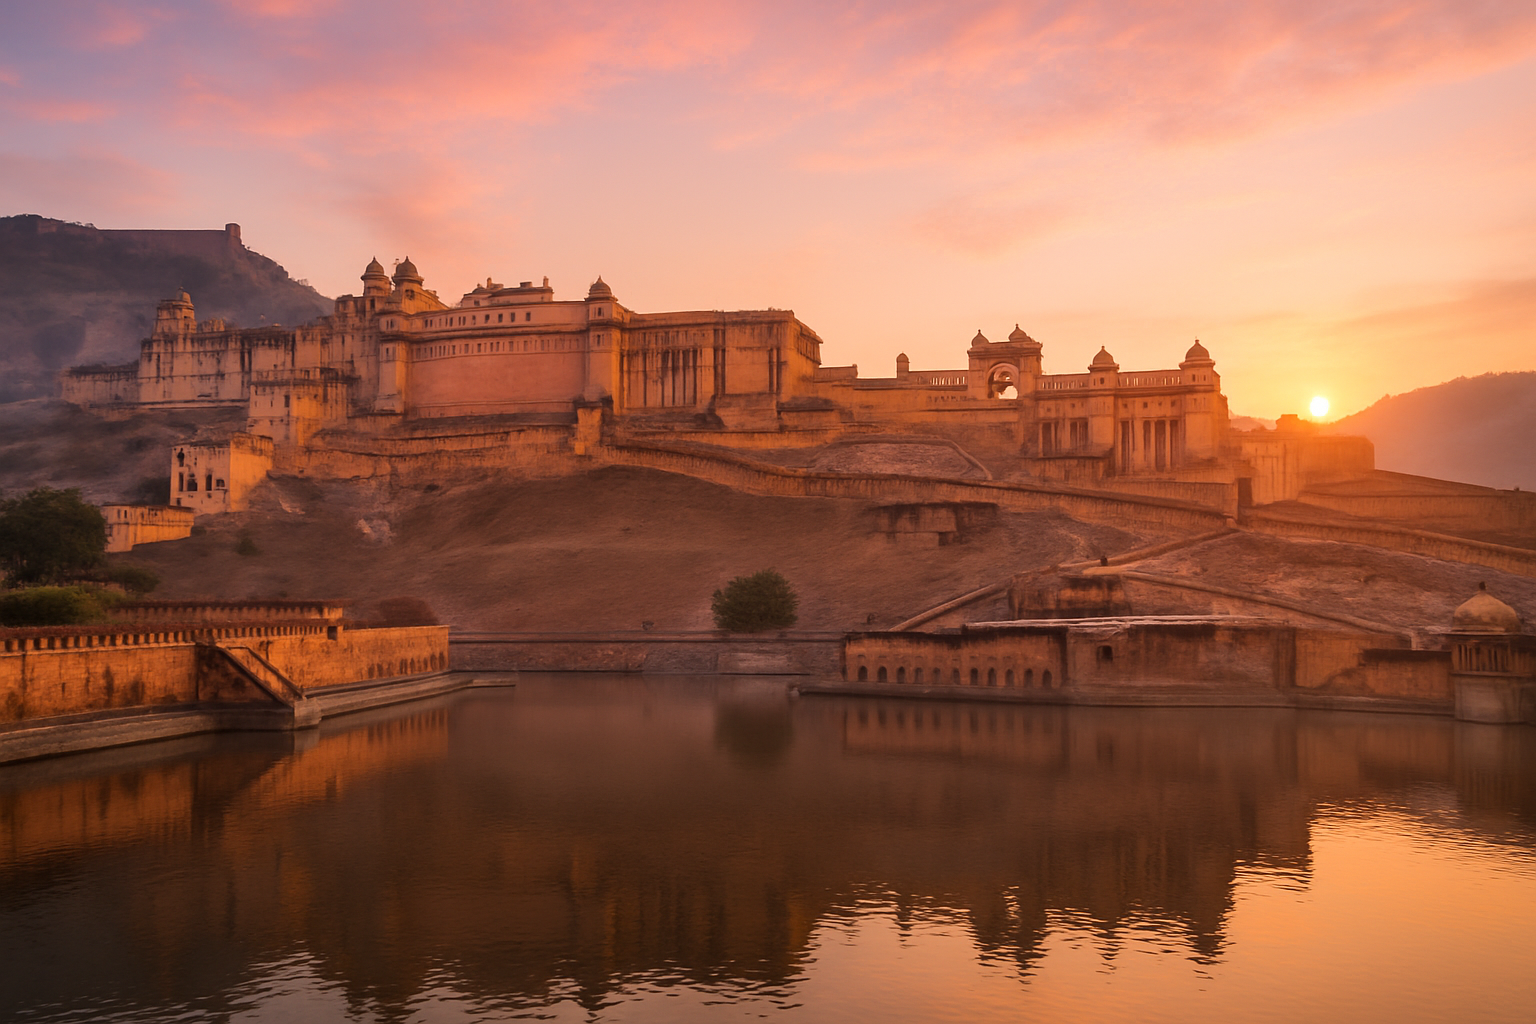
Aim for one sunrise or sunset shoot per day. The low sun wraps buildings and faces with warm, soft light. Street portraits glow. Water shimmers. Even concrete looks friendly. On Santorini, I skipped one late dinner to catch sunset by the windmills—and ended up with my favorite photos of the trip. Worth every grumbling stomach.
Blue hour: the moody magic
The 20–30 minutes after sunset or before sunrise turns skies cobalt while city lights flicker on. Use a tripod or stabilize your phone on a railing. Switch on Night mode or a longer exposure to capture crisp detail without blur. This is prime time for cityscapes, bridges, and reflections.
Midday sun: tame the contrast
Harsh overhead light can wash out colors and carve heavy shadows under eyes. Workarounds:
- Find open shade under awnings or trees for even light.
- Shoot interiors—markets, museums, mosques—for shafts of dramatic light.
- Go graphic: embrace shadows and silhouettes for a bold, high-contrast style.
Cloudy days: your natural softbox
Overcast skies are fantastic for portraits and colorful streets. Colors saturate, and faces look smooth. When the light flattens, lean more on composition and layers.
Experiment with Angles and Perspectives
Great travel photos rarely come from the first spot you stand. Move around. Play.
Go low, go high
Drop to knee level for dynamic leading lines in cobblestone lanes, or lift your camera above your head to clear a crowd. If there’s a tower, rooftop, or hill, climb it. A high view instantly separates your photo from the same ground-level shot everyone else took.
Shoot through something
Frame a canal through a railing, a market through hanging textiles, a street through a doorway. These peekaboo moments add context and hide visual clutter.
Use reflections
After rain, hunt for puddles and tilt your camera to capture mirror-image buildings and neon signs. Lakes, fountains, and polished floors do the same. Upside-down reflections are a classic Instagram trick for a reason.
Go wide, then go tight
A wide-angle shot places your subject in its environment—great for landscapes and architecture. Then zoom or step closer for details: tile patterns, hands rolling dough, the patina on a door. Together, they tell a richer story.
Consider drones and action cams (when appropriate)
Aerials can be breathtaking for coastlines, deserts, and mountain towns. Just check local regulations, no-fly zones, and whether permits are required by the local civil aviation authority before you fly. Action cameras shine for hands-free moments—bike rides, snorkeling, or narrow alley walks—where you want immersive POV without fuss. For water or rough weather, use a waterproof housing rated for your activity and depth.
Include People and Tell a Story
Beautiful places are only half the picture. What you’ll remember years later are the stories—who you met, what you felt, the tiny in-between moments.
- Candid beats staged: A vendor laughing mid-conversation, a child chasing pigeons in a square, a friend tying laces before a hike. These feel real and pull viewers in.
- Interact respectfully: Ask before you photograph someone up close. A smile and a few local words go a long way. If someone says no, thank them and move on.
- Tell a sequence: Start with an establishing shot (the market), then a medium shot (your friend taste-testing), then a close-up (spices staining fingertips). You’ve just built a micro story in three frames.
- Put yourself in the frame: Use a tripod or a friend’s help. You don’t have to face the camera—walking into the scene or looking toward the view adds personality without feeling like a photoshoot.
A simple truth from social research still holds: images with people tend to get more engagement. More importantly, they often feel more meaningful to you.
Edit on the Go for a Consistent Look
Editing is where your photos click into the look you love. Keep it light and fast while you travel, and aim for consistency so your grid feels cohesive.
A simple mobile workflow
- Cull with purpose: At the end of the day, favorite your top 10–20 shots. Deleting the rest is liberating; at least hide near-duplicates.
- Edit in one app: Lightroom Mobile, Snapseed, and VSCO are reliable, powerful, and fast. Pick one so you’re not bouncing between five tools.
- Start with basics: Straighten horizons, crop thoughtfully, adjust exposure, contrast, highlights, and shadows. Check white balance; warm up sunsets, cool down blue-hour frames.
- Add subtle pop: Increase vibrance lightly for color without cartoonish saturation. A touch of clarity or texture can enhance detail; be gentle on portraits.
- Use a preset as a baseline: A single preset applied lightly across a trip creates cohesion. Then tweak each photo by hand—skin tones, skies, and foliage need individual care.
- Mind the crop for Instagram: 4:5 vertical fills the feed best. For panoramas, carousels tell the story better than a squished single frame.
“Edit to recreate the feel of the moment, not to create a fake one.” — a mantra many pros live by
If you’re shooting on a camera, consider RAW or RAW+JPEG so you have flexibility later. Transfer a few favorites to your phone for quick posts; save deeper edits for when you’re home.
Instagram export sizes that just work
Dialing in the right output prevents soft uploads or awkward crops:
- Feed portrait (4:5): 1080 × 1350
- Feed landscape (1.91:1): 1080 × 566
- Square (1:1): 1080 × 1080
- Stories/Reels (9:16): 1080 × 1920
Export at high quality (around 80–90% JPEG quality). Keep file sizes reasonable so uploads don’t stall on hotel Wi‑Fi.
Streamline Your Sharing Workflow
The fastest way to fall behind on posting is to have a tangled process. Make it simple so sharing becomes part of your travel rhythm.
Get photos onto your phone—fast
- Phone-only? You’re already there. Organize as you go.
- Camera users: Use your camera’s Wi‑Fi app, an SD card reader, or a tiny USB‑C/Lightning adapter to move selects to your phone in minutes. Transfer only the keepers.
Create a “to post” album
Make a dedicated album on your phone. Drop edited favorites there so you can post while waiting for coffee instead of digging through thousands of shots.
Write captions that add value
Share a snippet that gives context: the 5 am alarm you almost ignored, the local breakfast you tried, the tip a shopkeeper gave you. Ask a simple question to invite comments. Think beyond “wanderlust!” and tell a micro story.
Use smart tags and timing
- Add location tags. People search by place.
- Mix broad and niche hashtags: #travelphotography, #yourdestination, and a couple of community tags. Fewer, more relevant tags beat a block of generic ones.
- Post when your audience is awake. Evenings or early mornings in your main time zone tend to work well.
Alternate Stories and Feed
Share polished shots in your feed and behind-the-scenes moments in Stories. Save a Story highlight for each trip; it turns your journey into a browsable mini-guide.
Keep Your Photos Safe and Your Mind Clear
Losing images hurts more than skipping dessert. A simple backup routine protects your memories and frees up space to keep shooting.
- Two is one, one is none: Back up daily to the cloud if you have solid data or hotel Wi‑Fi. If not, copy to a small SSD or a wireless backup drive. Rotating two memory cards is another safety net.
- Manage storage: Clear space before you travel. Offload big video files. If you shoot a lot of 4K, budget for larger cards.
- Be discreet with gear: Use a nondescript bag, keep straps tucked, and avoid flashing expensive equipment in crowded areas. Comfort and awareness are your best security tools.
- Carry a microfiber cloth and a rain cover: Weather shifts fast. A light plastic bag or packable camera cover weighs almost nothing and can save a camera during a surprise downpour.
Field-Tested Micro Lessons from the Road
Anecdotes are sticky, so here are a few small, real-world lessons that changed how I shoot while traveling.
- Rome at dawn: I dragged myself to Trevi Fountain at 5:15 am. Instead of a wall of tourists, I found rippling water, pale marble, and soft light. I shot low to include the wet stone in the foreground and left space above the statue to crop for 4:5 later. Ten minutes after sunrise, the crowd arrived. The photo—and the calm—were worth the early alarm.
- Marrakech at noon: The souks can be a chaos of color and contrast. I ducked into a courtyard where a latticed roof cast patterned shadows. Shooting in open shade gave me saturated hues of rugs and spices without harsh highlights.
- Kyoto after rain: I waited five minutes after a shower, crouched by a puddle, and framed a pagoda’s reflection. I tapped to expose for the highlights so they didn’t blow out, then lifted shadows in editing. Instant drama, zero extra gear.
- Canary Islands wind: On a cliffside, I hung my backpack from the tripod to weigh it down. That small trick sharpened a long exposure of waves that would have otherwise blurred from wind shake.
These aren’t luck. They’re tiny, repeatable choices.
Quick Wins for Instagram-Specific Results
Think of these as tweaks that make mobile viewing sing without overthinking the craft.
- Compose for vertical: The 4:5 vertical crop dominates the feed. Shoot a touch wider than feels natural so you can crop without losing the subject.
- Keep it clean: Small screens prefer images with a clear focal point. Minimize clutter where you can.
- Sequence carousels: Use the first image as the hook, the second to set context, and the third to reveal a detail or surprise. It increases time on post and tells a fuller story.
- Color continuity: If your last few posts had warm sunsets, keep the mood going with a complementary palette. Consistency builds a recognizable style.
When in Doubt, Simplify
If you’re overwhelmed, strip it back:
- One camera or your phone
- One lens or your main camera app
- One editing app
- One daily shoot at golden or blue hour
Done consistently, this minimalist setup beats the traveler with a backpack full of lenses who never pulls them out.
A Note on Ethics and Respect
We photograph places that are home for others. A few gentle reminders help us be good guests:
- Ask permission for close-up portraits, especially of children or in sacred spaces.
- Follow posted rules in temples, mosques, museums, and markets.
- Leave no trace: stay on paths, don’t trample fields for “the shot,” and pack out what you bring in.
- Drone responsibly: check regulations, no-fly zones, and required permits; avoid wildlife disturbances or private property.
Small acts of respect show up in your photos. People relax. Places shine.
Putting It All Together
Here’s what it looks like in practice. You arrive in a new city in the afternoon. You drop your bag and take a short wander to scout. You save a few geotagged posts that inspire you and plug a sunrise spot into your plan. You use Voyay to build a personalized walking route that includes a lesser-known overlook a local would love. You set your alarm, charge your batteries, clear space on your phone.
Morning comes. You walk in blue hour with a coffee, reach your spot, and experiment—low angles with a leading line, a symmetrical shot for drama, then a wide frame with your friend in the corner for scale. You head back, pick five favorites over breakfast, apply your preset lightly, crop to 4:5, write a caption that shares why waking early mattered, then post when your audience is waking up.
By lunch, your best image is live, and your camera roll is organized. You still have the day ahead and the energy to enjoy it.
Conclusion
You don’t need pro gear or hours of editing to create Instagram-worthy travel photos. You need a plan for the light, a handful of composition tricks, a willingness to move your feet, and a simple workflow you can repeat every day on the road. The rest is curiosity and practice.
Start where you are—even your hometown has hidden corners that will sharpen your eye. On your next trip, build one golden-hour shoot into each day, try two new angles everywhere you stop, include one human moment, and keep your edits gentle and consistent.
Most of all, enjoy it. The best travel photos aren’t just liked—they’re lived. Capture yours in a way that brings you back, every time you look at them.